How to replace a video background without a green screen
Replacing a background without a green screen: matte-and-comp vs generative tools, what makes the result believable, a step list, and fixes for common problems.
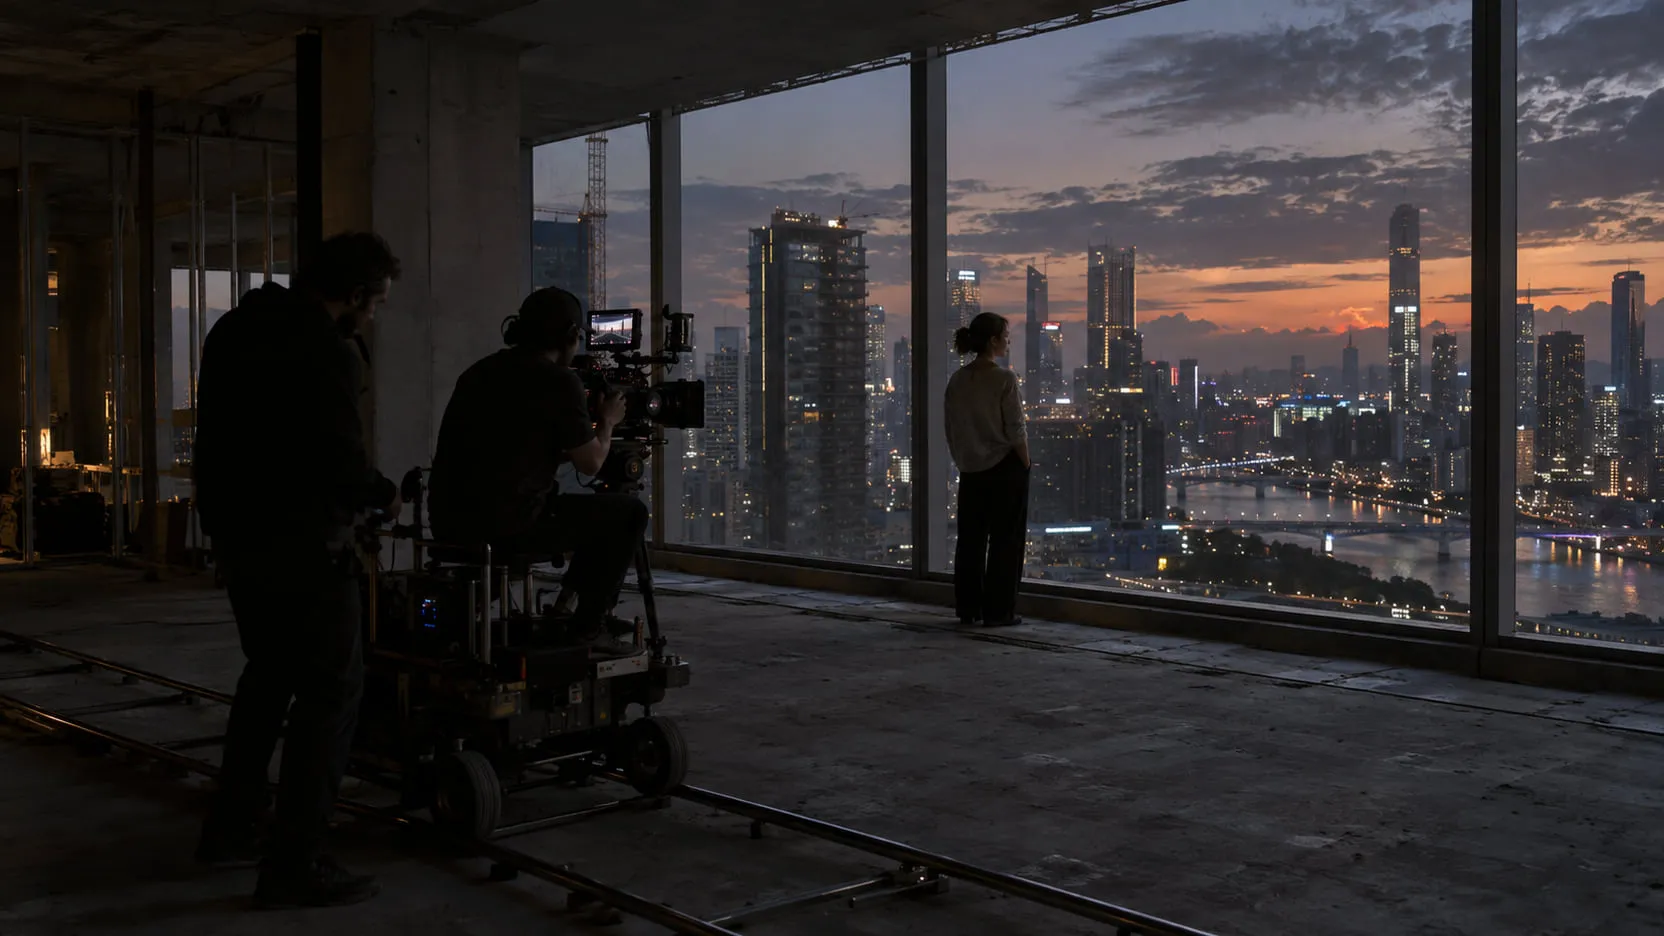
To replace a background without a green screen you need three things: a good matte of the subject, a new background plate that matches the shot’s camera and light, and comp work to tie them together. AI has made the matte much cheaper to get, but it doesn’t make the comp automatic. The believability still comes from edges, light, color, perspective, focus and grain.
This post compares the two approaches (matte and composite vs generative video-to-video), walks through the steps, covers what makes the result believable, and ends with a table of common problems and fixes.
Two ways to replace a background
There are two approaches, and they differ in one important way: whether your subject’s pixels survive.
| Matte and composite | Generative video-to-video | |
|---|---|---|
| How it works | Separate the subject with a matte, place it over a new background, comp them together | Describe the new background (text or reference images); a model re-renders the shot |
| Your subject’s pixels | Kept as shot | Re-rendered: face, wardrobe, texture and grain are regenerated |
| Control | Every layer is adjustable: matte, background, edge, grade | You can re-prompt, but you can’t adjust one layer without the others |
| Resolution | Your source resolution | Limited by the model (see below) |
| Good for | Client finals, anything where the performance matters | Previz, pitches, temp comps, some social deliverables |
The matte-and-composite route is the one professionals use for finals, because the subject stays exactly as photographed. The generative route is fast and can give you convincing interaction between subject and environment, but it changes things you didn’t ask it to change.
The limits are specific. As of September 2026, Runway’s API documentation says Aleph 2 video-to-video input “must be 2–30 seconds and 30 FPS or lower,” and that the output “preserves the input video’s resolution (up to 1080p).” A 4K plate comes back at 1080p at most, with every pixel regenerated. We go deeper on this trade-off in generative video editing vs plate-preserving VFX.
A useful middle path: use a generative tool to make the new background plate only, then comp your real, matted subject over it.
Step by step: matte and composite
- Decide how much of the background to replace. If the subject touches the environment (feet on a floor, hands on a table, sitting on a chair), keep the part of the plate they touch and replace only what’s behind. Sky and far-background replacements are much easier than full environment swaps.
- Pull the matte. Start with an AI mask, then fix the problem frames by hand (details below).
- Check the matte on a flat, contrasting color and on the new background, at speed. Look for chatter, dropouts and edges that shrink or grow.
- Track the camera if it moves. A 2D or planar track is often enough for a distant background; for close backgrounds with parallax you need a 3D camera solve.
- Prepare the background plate so its perspective, horizon, lens and light match the shot.
- Comp the subject over the background using the matte. Keep the subject’s pixels untouched apart from edge work and grade.
- Fix edge color so the old background doesn’t show in hair and motion blur.
- Match color and light: blacks, whites, color temperature and light direction.
- Match focus and grain: defocus the background to the shot’s depth of field, and give both layers the same grain.
- Add light wrap and atmosphere where it helps, then review at speed and after the grade.
Getting a matte without a green screen
The matte is where AI now does most of the heavy lifting, and where most of the remaining problems live.
AI masking tools in the editors and compositors you already own are the fastest start. In After Effects, Object Matte selects a subject with a click and propagates the matte through the shot; Adobe says it’s built on the same AI as Premiere’s Object Mask, and it includes a Refine Edge tool for hair. DaVinci Resolve 21’s Magic Mask added a “render in place” option that caches a tracked mask as a traveling matte node. We compare these tools in AI masking in After Effects, Resolve and Premiere.
What to expect from any AI matte:
- Solid subjects, clear edges: often usable with light cleanup.
- Hair against a busy background: still the hardest case for any matte. Expect to refine.
- Motion blur: AI masks tend to give hard edges where the plate has a smear.
- Occlusion and crossing subjects: masks can jump to the wrong subject or drop out for a few frames.
A common approach is to split the matte in two: a solid core matte for the body, which AI does well, and a separate edge matte for hair and blur, which you refine or key from the old background where it’s simple enough. Whether AI mattes are good enough for client work is a question we answer in is AI rotoscoping good enough?.
When you move the matte between applications, check that it’s delivered with the right alpha type and at the full resolution and frame count; see alpha channels, ProRes 4444 and EXR.
Matching the new background to the shot
A perfect matte over the wrong background still looks wrong. Match these, roughly in order of how quickly a viewer notices them:
- Perspective and horizon. The new background’s horizon line and vanishing points should sit where the shot’s camera height and angle put them. A background shot from eye level behind a subject filmed from a low angle will never sit right.
- Lens. A wide lens shows more background and more perspective distortion; a long lens compresses. Choose or build a background that matches the focal length.
- Camera movement. If the camera moves, the background has to move with it. Track the original shot and apply the track to the new background. For handheld shots, even small shake that doesn’t carry into the background gives the comp away.
- Light direction. If the key light is on the subject’s left, the background’s sun or practicals should agree. You can grade a lot, but you can’t grade light direction.
- Color temperature and contrast. Match the blacks, the whites and the overall color of the light. A warm interior subject over a cool dusk exterior needs a creative decision, not just a grade.
- Focus. Most shots have a shallow depth of field. A sharp background behind a subject shot on a long lens reads as fake immediately.
- Resolution and grain. A soft, upscaled or grain-free background next to a sharp, grainy subject is a common giveaway. Match sharpness, then apply the same grain to both.
Edges, spill and light wrap
Edges decide whether the subject looks placed or cut out.
- Spill happens without a green screen too. The original background’s color is mixed into every semi-transparent edge pixel: hair, motion blur, defocused edges. Put that subject over a new background and you see a fringe of the old one. Fix it by pushing edge color toward the new background, or by extending the subject’s own edge color outward before you apply the matte.
- Don’t over-choke. Shrinking the matte to hide fringing also removes the soft edge that makes it look photographed. Fix the color, not the size.
- Light wrap. In a real photo, bright background light bleeds slightly over the subject’s edges. A subtle light wrap, sampled from the new background, ties the two together. Too much looks like a glow.
- Shadows and contact. If the subject touches the ground you replaced, they need a shadow or contact darkening in the new environment.
- Reflections. Glasses, windows and glossy surfaces in the foreground reflect the old background. Plan to fix them or accept them.
Common problems and fixes
| Problem | Likely cause | Fix |
|---|---|---|
| Halo or fringe around hair | Old background color in semi-transparent edges | Edge color correction toward the new background; edge extend; refine the edge matte |
| Subject looks cut out with scissors | Hard or over-choked matte | Soften and refine the edge; don’t choke to hide fringing |
| Edges chatter or boil | Matte changes shape from frame to frame | Refine problem frames; stabilize the edge with roto on the worst areas |
| Background slides behind the subject | Camera moves but the background doesn’t | Track the original shot and apply the track; use a 3D solve if there’s parallax |
| Subject “floats” | Perspective or horizon mismatch; missing contact shadow | Choose a background from a matching camera height; add shadow and contact |
| Subject looks pasted on | Light direction or color temperature mismatch | Grade to match blacks, whites and color; change the background if light direction disagrees |
| Background too sharp | Depth of field not matched | Defocus the background to match the lens |
| Layers feel like two different cameras | Grain and sharpness mismatch | Match sharpness, then apply the same grain to both layers |
| Face or wardrobe changed | Generative tool re-rendered the subject | Use matte-and-composite for finals, or generate only the background plate |
Where nolanlabs fits
Background replacement is part of nolanlabs Environment work. It keeps your subject’s pixels as shot, using a matte of the subject, and places a new background behind it: a plate you supply or one generated from a description. A generated background is only ever a plate; the subject is never regenerated. Instead of only a flattened comp, it returns every layer: the comp, the foreground RGBA, the background as used and the matte, so you can redo the edges, light and grade in your own compositor. Light direction and spill remain your creative calls; the layers are there so you can make them. More on Environment, or bring a shot to a demo.
Whatever tools you use, the order holds: get the matte right, choose a background that matches the camera and light, and spend your time on the edges. That’s where a background replacement is won or lost.
Questions
- Can I replace a background without a green screen?
- Yes. Instead of keying a colored screen, you create a matte of the subject with AI masking tools, roto, or both, then composite the subject over a new background. The matte is the part AI now makes much cheaper; the believability still comes from matching perspective, camera movement, light, color, focus and grain between the subject and the new plate.
- Why does my subject look cut out after replacing the background?
- Usually the edges. Without a green screen, the old background's color stays mixed into semi-transparent edges like hair and motion blur, and a hard or choked matte removes the natural softness. Fix the edge color toward the new background, add a little light wrap, and match defocus and grain between subject and background.
- Should I use Runway or another generative tool to change the background?
- For previz, pitches, temp comps and some social work, it can be the fastest route. For client finals, be careful: generative video-to-video tools re-render the whole frame, including the subject's face, wardrobe and grain, and as of September 2026 Runway's API documentation says Aleph 2 preserves input resolution only up to 1080p.
Sources
- AI-powered Object Matte, Adobe After Effects Help (last updated Sep 9, 2026) · accessed 2026-09-24
- DaVinci Resolve 21: What's new, Blackmagic Design · accessed 2026-09-24
- Runway API documentation, full text (Aleph 2 video-to-video limits) · accessed 2026-09-24
Written by the nolanlabs team. nolanlabs does AI shot work for post-production; product names mentioned belong to their owners. Tool details were accurate on the date shown above. Check the vendor’s documentation before relying on them.