Wire removal, rig removal and how to remove tracking markers
How to plan for and remove wires, rigs and tracking markers: on-set choices, the right technique for each case, motion blur and grain, and a QC checklist.
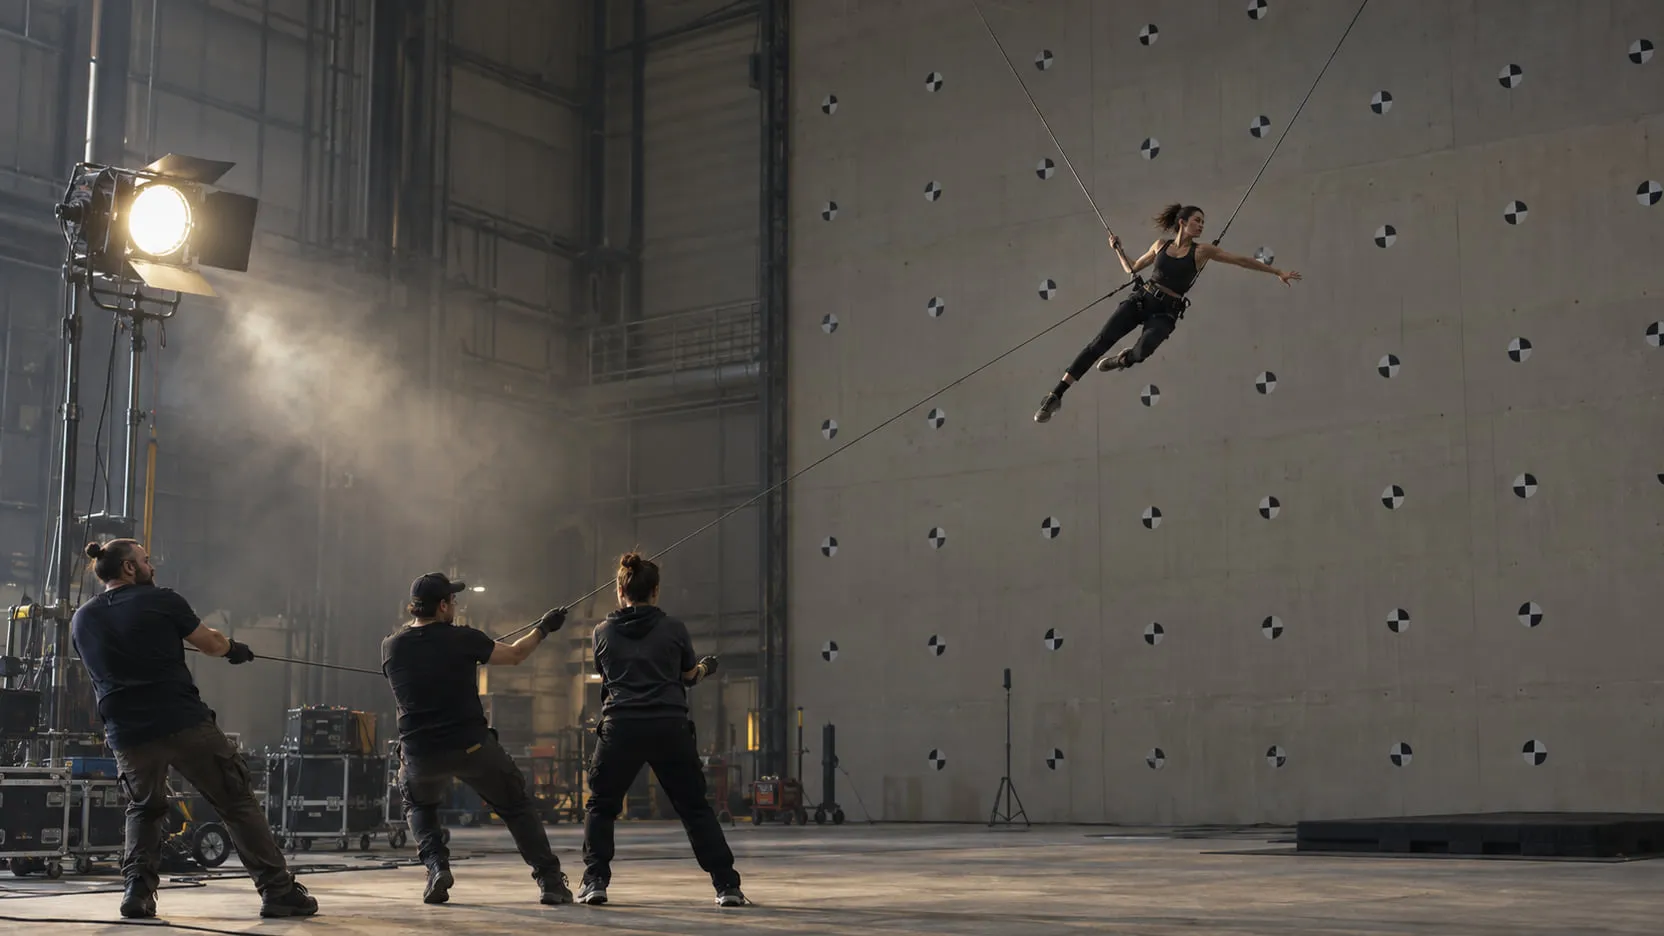
Thin wires over a simple background come out with a wire-removal tool that interpolates across the wire. Rigs, stands and arms come out with a clean plate or a tracked patch. Tracking markers come out with a planar-tracked paint patch, with frame-by-frame paint only where nothing else holds. Most of the difficulty is decided on set, by where the markers went, what color the wires were, and whether anyone shot a clean pass.
This post covers what to ask for on set, the technique for each case, motion blur and grain, a step list for a typical marker removal, where AI fits today, and a QC checklist.
Plan it on set: the cheapest removal is the one you prepared for
A few minutes on set can save days of paint. If you’re the VFX supervisor, or the person who will end up doing the cleanup, ask for these.
Tracking markers
- Contrast, not brightness. A marker needs enough contrast against its surface for the tracker to lock on. It doesn’t need to be a bright color that then has to be removed from every frame.
- As small as will still track. Bigger markers are easier to track and harder to remove. Size them for the shot’s resolution and how much of the frame the surface fills.
- On flat, textured surfaces where possible. Walls, floors and set pieces are easy to patch with a planar track. Markers across corners or depth changes are harder.
- Off hair, and off faces unless the shot needs facial tracking. Removing a marker from hair means rebuilding strands; removing one from skin means rebuilding texture that moves with expression.
- Only as many as the track needs. Every marker is a removal.
- On green or blue screen, markers that the keyer will also pull out save a removal step. Test the key with the markers on before you roll.
Wires and rigs
- Wire color against the background. A wire that is darker or lighter than the sky behind it is easier to see on set and harder to remove. Match it to what it will cross.
- Keep wires off the subject’s silhouette. A wire over sky is a simple fix. A wire crossing hair or a costume edge needs roto and paint.
- Shoot a clean pass after the take, with the rig out and nothing else changed: same lens, exposure, shutter and light, same move if the camera moves. We cover this in detail in how to make a clean plate.
- Remember shadows and reflections. A rig removed from the frame but still casting a shadow is only half removed.
Thin wires over sky or a simple background
Thin wires over sky, smoke or a plain wall are the easiest case, because the background on either side of the wire tells you what’s behind it. Wire-removal tools track the wire and fill it from its surroundings.
In Nuke, F_WireRemoval is a Furnace node (Foundry’s NukeX page lists the Furnace plug-ins among NukeX’s tools). Foundry’s Nuke 17.1 documentation describes four repair methods:
- Spatial: “interpolates across the wire at the most likely angle,” using the current frame only.
- Temporal With Static Scene and Temporal With Moving Scene: borrow from neighboring frames, with different alignment for different scene motion.
- Clean Plate: warps a clean plate you supply onto the current frame and rebuilds the background from it.
It includes a tracker for moving wires, and Foundry notes it’s “particularly good at removing wires over heavily motion blurred backgrounds or wires over smoke, dust, or clouds.”
Boris FX describes Mocha Pro 2026.5’s Remove module as able to “remove unwanted elements, wires, rigs, tracking marks,” by finding clean frames over time. Silhouette 2026 lists Clone, Repair and Drag brushes among its paint tools.
In any compositor without a dedicated tool, the same idea works: a thin, tracked shape over the wire, filled by a small offset clone of the pixels beside it or by pixels from a neighboring frame.
When the wire crosses the subject, split the job. Roto the subject, remove the wire from the background, and paint the part over the subject separately. Hair is the hardest case, because you’re rebuilding strands, not background.
Rigs, stands and arms
Rigs are bigger than wires, and the background behind them is usually not a simple gradient, so interpolation won’t work. You need real background, from a clean pass or from other frames, or a painted patch.
- With a clean pass: align it to the take (track if the camera moves), then reveal it through a matte around the rig.
- Without a clean pass: build one. If the rig or camera moves, other frames reveal the background; on a locked shot with a static rig, you’ll need to paint a clean frame and track it on. Mocha Pro’s Remove module has a “Static Scene” option for locked shots.
- Separate what interacts with the subject. If an actor’s hand grips the rig, roto the hand so the patch stays behind it.
- Don’t forget the rig’s shadow and any reflection. Remove them as a separate pass; Adobe’s Content-Aware Fill documentation gives the same advice about removing a person and their shadow separately.
Tracking markers on walls and flat surfaces
For markers on a wall, floor, table or green screen, the planar-tracked paint patch is the standard technique. You track the surface, paint one clean frame, and let the track carry that frame across the shot.
After Effects’ Content-Aware Fill has a Surface method intended for “static and flat surfaces,” plus reference frames you can paint in Photoshop. It’s a reasonable option inside AE for markers on walls.
Tracking markers on skin and faces
Markers on skin are the hard case. Skin deforms, has fine texture, changes with expression, and is where the audience looks.
- Track locally. A planar track of the whole face won’t hold. Small tracks around each marker, or a mesh or warp track that follows deformation, hold much better.
- Patch small. Paint a clean frame for each marker, keep the patch just larger than the marker, and feather it.
- Match texture, not just color. A patch that’s the right tone but has no pores reads as makeup.
- Watch the light. As the head turns, the lighting on a patch changes. Grade the patch over time.
- Paint the frames that break. Blinks, fast turns and extreme expressions often need frame-by-frame paint.
Motion blur, defocus and grain
These three are why a removal that looks clean on a paused frame still shows in playback.
- Motion blur. A marker on a fast-moving surface is a smear, not a dot. The matte must cover the whole smear, and the patch needs the same blur as the plate. Paint a sharp frame, then blur the patch along the motion.
- Defocus. If the surface is out of focus, soften the patch to match. A sharp patch on a soft wall is visible from across the room.
- Grain. Painted patches are too clean, and cloned patches carry grain that doesn’t move right. Degrain before painting, regrain the patch with grain sampled from the same plate, and composite it back over the untouched original.
Step by step: removing a tracking marker from a wall
- Watch the whole shot and note where the marker is fully visible, partly covered, motion-blurred or crossed by the subject.
- Degrain the plate or the working area, and keep the original for the final composite.
- Planar-track the surface the marker sits on, not the marker itself.
- Pick a reference frame where the marker is sharp and fully visible.
- Paint that frame clean with clone or heal tools, extending the surface texture across the marker.
- Attach the painted frame to the track so it moves with the surface.
- Matte the patch with a soft shape just larger than the marker. Roto anything that passes in front of the marker so the patch stays behind it.
- Match light and blur over time: grade the patch where the light changes, add motion blur where the camera or surface moves fast.
- Regrain the patch and composite it over the original plate.
- QC using the checklist below.
Where AI fits
AI video inpainting is useful where the background behind a marker or rig is never revealed and a painted patch would be slow: textured surfaces, small objects, long shots. It generates plausible content for the masked area. The limits matter more than the pitch:
- Resolution. As of September 2026, the hosted masked video inpainting models we checked are low-resolution: Wan VACE 14B on fal offers up to 720p; Bria’s eraser API downscales above 750p and takes 5 seconds per request. For wires and markers that’s workable, because the area is small: crop a tile around it, inpaint the tile, and composite only the masked area back onto the full-resolution plate.
- Temporal stability. Fills can flicker or drift from frame to frame. Check at speed.
- Invented detail. On skin and faces, a generated patch can shift tone or texture. Look closely.
- Never the whole frame. Use the model’s output as a patch through your matte, not as the shot. Full-frame generative editors re-render everything, which we cover in generative video editing vs plate-preserving VFX.
For thin wires over sky, a dedicated wire tool is often simpler than AI. For a dozen markers on a textured wall with a moving camera, AI inpainting on tiles can save real time, if you still QC and regrain.
In nolanlabs this is Cleanup. You mark the wire, rig or markers, and only that region changes; it returns the cleaned shot plus the fill patch and the edit-region matte so you can finish the blend yourself.
QC checklist for wire, rig and marker removal
- Played at full resolution and at speed, not just scrubbed.
- No flicker, boiling or swimming texture inside the patch.
- Grain inside the patch matches the plate in size, strength and motion.
- Patch holds its position on the surface; no sliding against nearby detail.
- Motion blur and defocus inside the patch match the plate.
- Light and color match at the start, middle and end of the shot.
- Shadows and reflections of the rig or wire also removed.
- Anything passing in front of the patch stays in front of it.
- Outside the patch, a difference against the original shows no change.
- Checked in the final comp and after the grade.
The work is mostly the same whatever tool you use: plan it on set, use real background before invented background, track before you paint, and regrain before you call it done.
Questions
- What is the fastest way to remove tracking markers?
- For markers on a flat or near-flat surface, track the surface with a planar tracker, paint one frame clean, and attach that painted frame to the track so it covers the marker for the whole shot. You paint once instead of on every frame, and the patch can't flicker. Finish with a soft matte, a grade if the light changes, and regrain.
- How do you remove a wire in After Effects, Nuke or Resolve?
- The technique is the same everywhere: isolate the wire with a thin tracked shape, then fill it from neighboring pixels, from other frames or from a clean plate. Nuke's F_WireRemoval node does this with spatial, temporal and clean-plate repair methods; Mocha Pro's Remove module is described by Boris FX as handling wires and rigs; in any compositor you can do it with a tracked mask and clone or paint tools.
- Should tracking markers go on an actor's face?
- Only when the shot needs facial tracking and nothing else will do. Markers on skin deform with expression, sit on texture that is hard to rebuild, and are right where the audience looks. Keep them small, off the hairline and off areas that wrinkle, and use as few as the tracking really needs.
- Can AI remove wires and tracking markers?
- It can help, especially where the background behind a marker is never revealed. As of September 2026, hosted masked video inpainting models we checked work at up to about 720p, so at 4K the practical approach is to inpaint a small tile around the marker and composite only the masked area back onto the original plate, then check for flicker and regrain.
Sources
- F_WireRemoval, Nuke 17.1 Reference Guide, Foundry · accessed 2026-09-24
- NukeX product page, Foundry · accessed 2026-09-24
- RotoPaint, Nuke 17.1 Reference Guide, Foundry · accessed 2026-09-24
- Mocha Pro (2026.5) product page, Boris FX · accessed 2026-09-24
- Silhouette (2026) product page, Boris FX · accessed 2026-09-24
- Remove objects from your videos with the Content-Aware Fill panel, Adobe After Effects Help (last updated Oct 14, 2024) · accessed 2026-09-24
- Wan VACE 14B inpainting API reference, fal · accessed 2026-09-24
- Erase object (video editing API), Bria docs · accessed 2026-09-24
Written by the nolanlabs team. nolanlabs does AI shot work for post-production; product names mentioned belong to their owners. Tool details were accurate on the date shown above. Check the vendor’s documentation before relying on them.