How to make a clean plate for VFX
What a clean plate is, how to shoot one on set, and the ways to build one in post, from frame borrowing and tracked paint to AI inpainting, plus how to QC it.
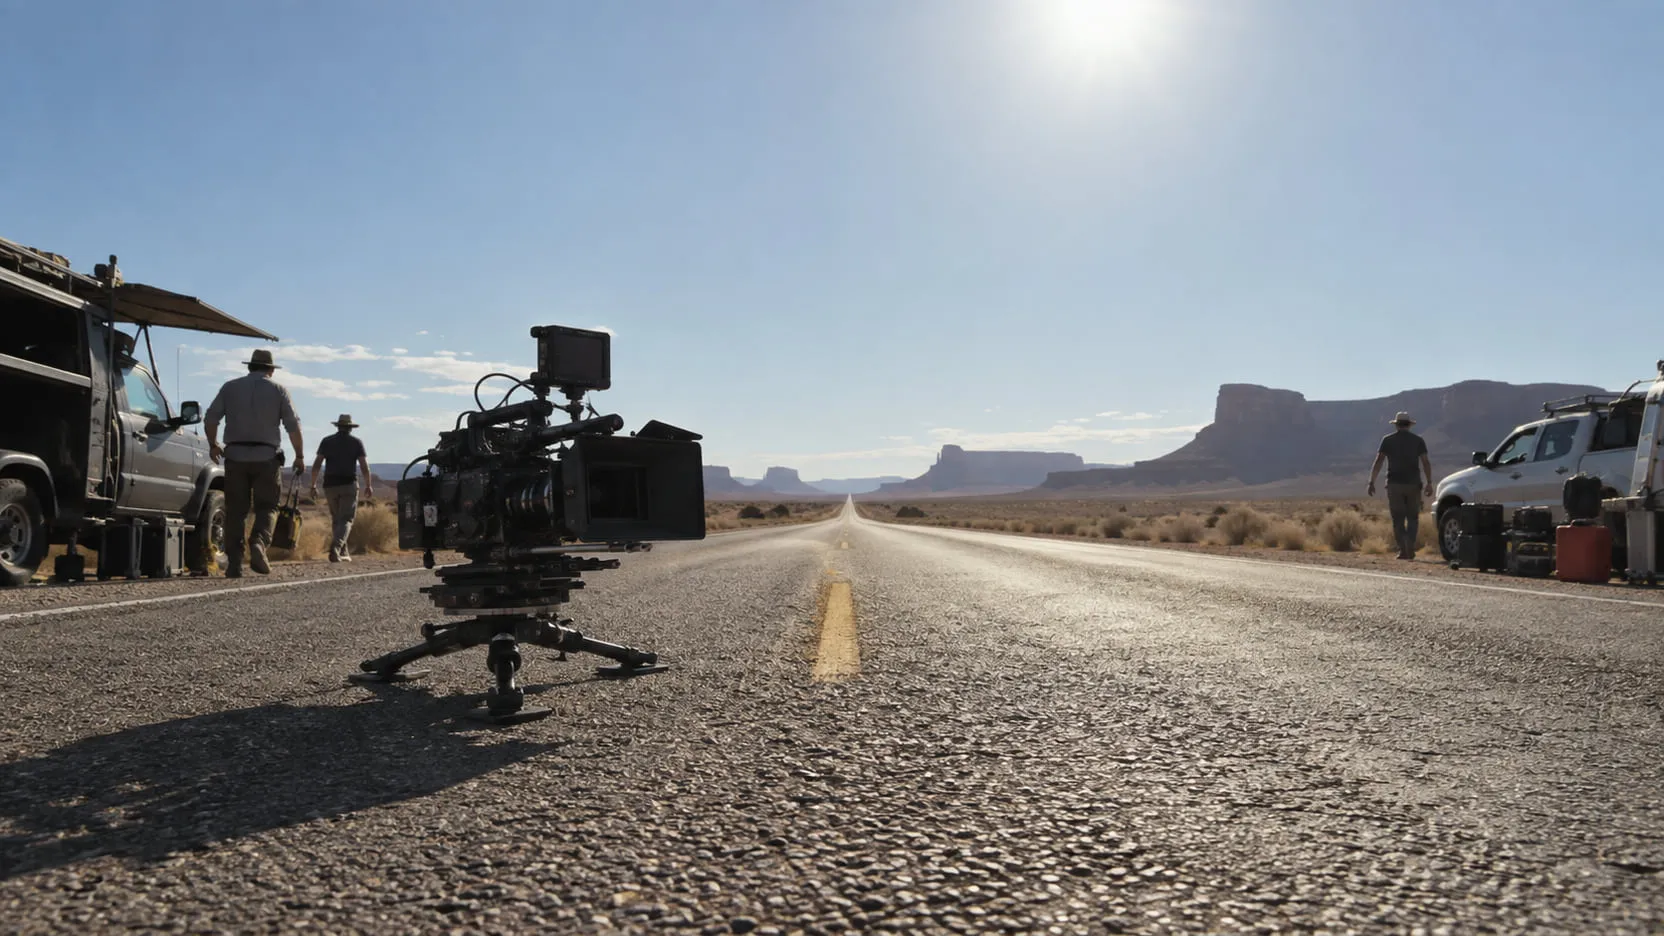
A clean plate is a version of your shot with the unwanted element gone: the same background, camera and light, with no actor, rig, boom or sign in it. The best clean plate is shot on set, right after the take. When you don’t have one, you build it in post by borrowing background from other frames, patching with tracked paint, cloning, or inpainting, and you finish by regraining it so it matches the plate.
This post covers what a clean plate is for, what to capture on set, the techniques for building one in post and when to use each, how to judge the result, and why regrain matters more than people expect.
What is a clean plate, and what is it used for?
A clean plate is the background of a shot without the element you need to remove or separate. Compositors use it in a few ways:
- Removal. To paint out a rig, a crew member or a boom, you need to know what was behind it. The clean plate supplies those pixels, and you reveal them through a matte.
- Keying and separation. A clean pass of the background makes it easier for a keyer to tell subject from screen. Blackmagic’s Fusion page, for example, describes a clean plate node that “makes it easier to remove the background from shots.”
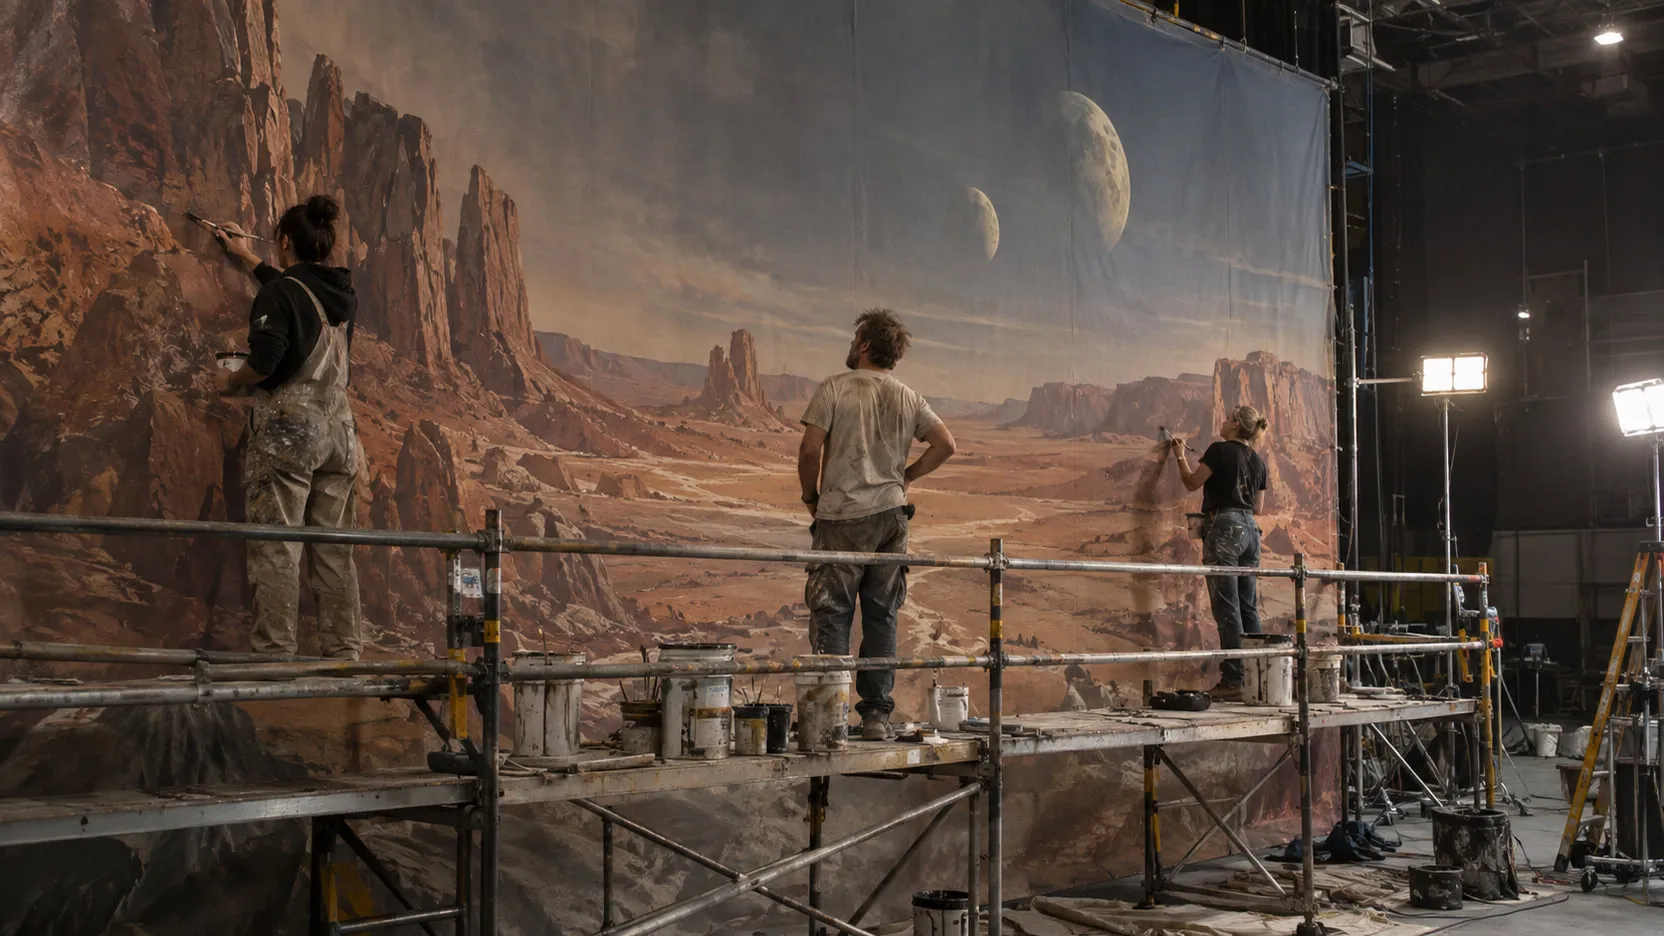
- Set extensions and matte paintings. A clean frame is the base you paint and project onto, and often the start of a background replacement.
- Reference. Even a clean plate that doesn’t line up perfectly shows the true color, texture and light of what was behind the object.
A clean pass from set is photographed; a clean plate made in post is reconstructed, and only as good as the information you had to rebuild it from.
The best clean plate is shot on set
A clean pass shot on the day beats anything you can build later, because it contains the real background. Ask for one whenever a shot has a rig, wires, stunt pads, markers or a person who needs to disappear.
What to capture:
- The same camera, lens, focus, exposure, white balance, frame rate and shutter as the take. A clean pass at a different shutter angle has different motion blur and won’t match.
- The same framing. On a locked-off shot, don’t touch the tripod. On a moving shot, repeat the move as closely as you can. Motion control repeats it exactly; a handheld or dolly repeat still gives you something to align in post.
- The same light. Shoot the clean pass right after the take, before lights are moved, the sun goes behind a cloud or practicals are switched off.
- Enough frames. Roll long enough to have moving grain, not a single still. A still has frozen grain, which shows over moving footage.
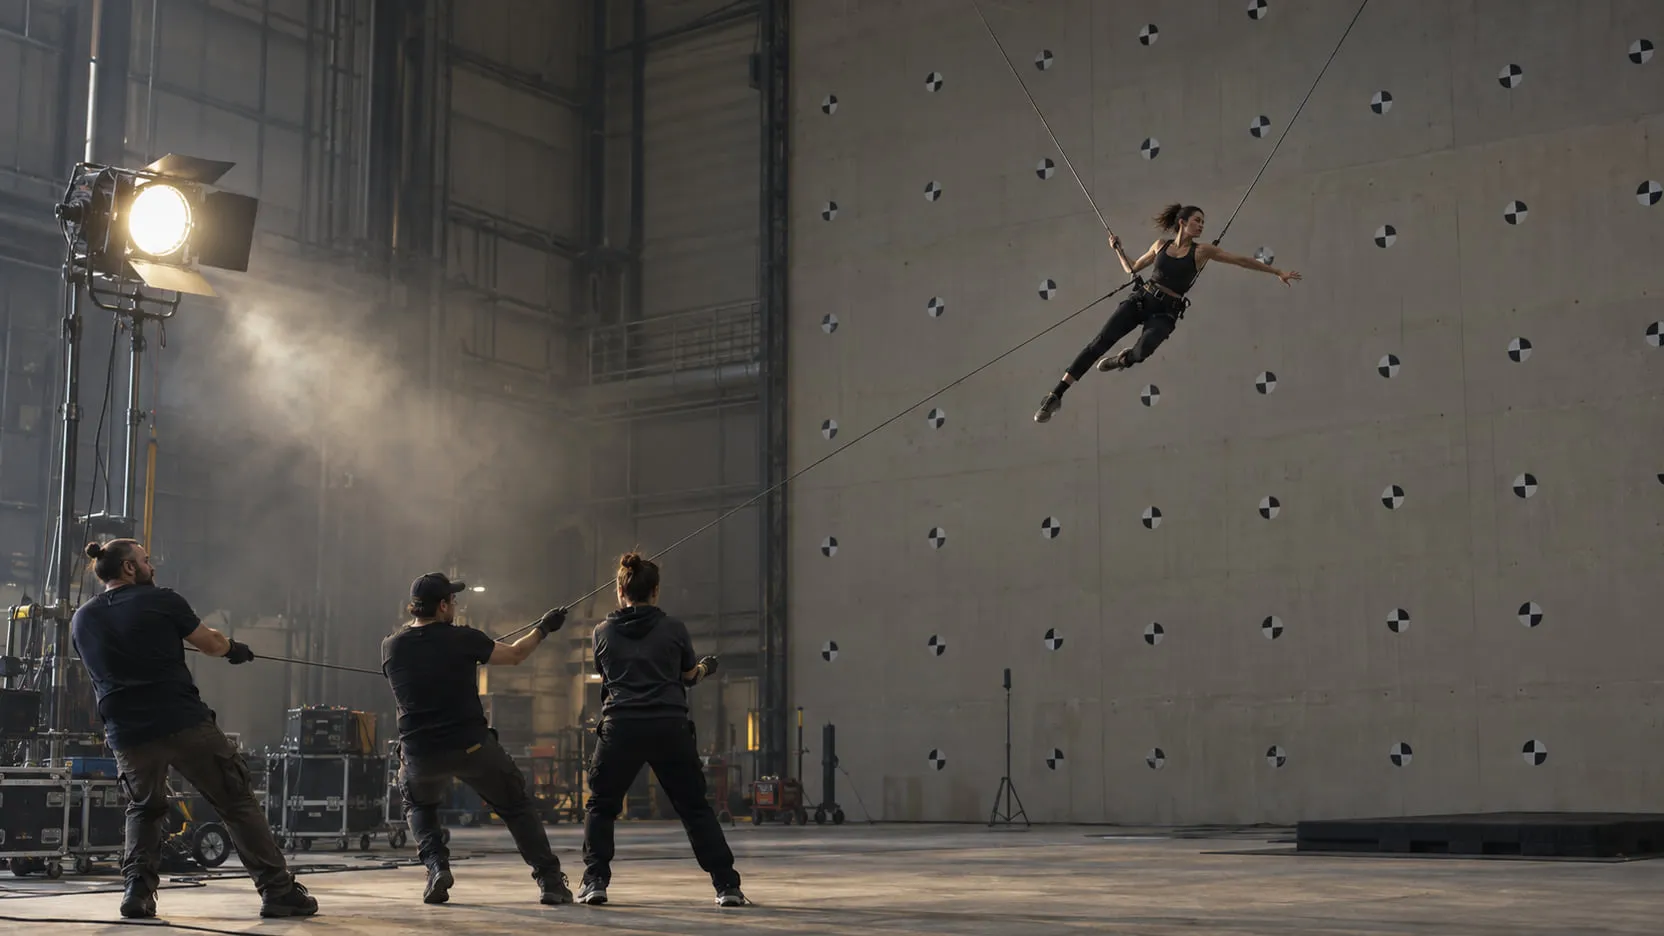
- Everything that moves, removed. Rig, stands, sandbags, stunt pads, crew, and their shadows and reflections if you can.
- Notes. Mark the clean pass on the slate and in the camera report so the editor and the VFX team can find it months later.
If a full clean pass is impossible, stills of the background textures still give the paint artist real material instead of guesswork.
How do you build a clean plate in post?
You pick the technique by asking one question: does any frame of this shot show what’s behind the object? If yes, borrow it. If no, you have to paint or generate it.
Borrow background from other frames
If the object or the camera moves, other frames reveal the background behind the object. You bring those pixels into the frames where it’s covered.
- Locked-off shot, moving object: the background is already aligned. Hold a frame where the area is clear, or combine several frames, and reveal it through a matte around the object.
- Moving camera: track or stabilize first so the borrowed frames line up, then reveal and restore the move.
In Nuke, the RotoPaint node’s Reveal tool pulls pixels from another input and, per Foundry’s Nuke 17.1 documentation, can take them “from a different frame” through a time offset. Boris FX describes Mocha Pro 2026.5’s Remove module as automatically detecting “temporal clean frames to blend and align pixels,” and it has a “Static Scene” option for locked shots. After Effects’ Content-Aware Fill (below) does the same kind of temporal borrowing inside AE.
Patch with a planar-tracked paint frame
When the area behind the object is roughly flat (a wall, a floor, a sign, a tabletop), paint one perfect clean frame and track it onto the rest of the shot. The workflow:
- Track the surface with a planar tracker.
- Pick a frame where the object covers the least, and paint that single frame clean (in your compositor or in Photoshop).
- Attach the painted frame to the track so it moves with the surface.
- Reveal it through a soft matte around the object, then grade it over time if the light changes.
This is the workhorse for markers on walls and logos on flat surfaces. You paint once, and a single painted frame can’t flicker.
Clone and paint frame by frame
Frame-by-frame clone and paint is the fallback when nothing else works: organic surfaces, heavy parallax, things that deform. Nuke’s RotoPaint includes Clone and Reveal, Silhouette 2026 lists Clone, Grain and Repair brushes and a non-destructive AutoPaint recording system, Fusion’s vector paint tool has a clone mode, and DaVinci Resolve has a patch replacer on the Color page.
The risk is temporal: paint that looks right on each frame can boil when played back. Keep strokes to the smallest area possible, and check at speed often.
Content-aware fill tools
Content-aware fill tools automate temporal borrowing and blending for a masked area. In After Effects, the Content-Aware Fill panel (its help page was last updated October 14, 2024 and was still live on September 24, 2026) fills a transparent area of a layer from surrounding frames, with three fill methods:
- Object for moving objects, filling from current and surrounding frames using estimated motion.
- Surface for static, flat surfaces “like a stain on a shirt or a sign on a building.”
- Edge Blend for static objects on textureless surfaces, sampling edge pixels.
It also offers Lighting Correction for shots where light changes, and reference frames: you paint one clean frame in Photoshop and the fill uses it as a guide. The fill is written as an image sequence on its own layer, so you can still grade, mask and regrain it. Adobe’s tips are worth following: remove complicated items in sections (a person and their shadow separately), and expect weaker results on moving textures like water.
DaVinci Resolve Studio has a comparable object removal plug-in, used with Power Windows and tracking.
AI video inpainting
AI inpainting generates new content for the masked region. Its advantage is that it can fill an area the shot never reveals, which temporal methods can’t. Its limits, as of September 2026:
- Resolution. The hosted masked video inpainting models we checked cap out low. Wan VACE 14B on fal offers resolutions up to 720p; Bria’s video eraser API downscales anything above 750p and accepts up to 5 seconds per request. At 4K you crop a tile around the object, inpaint the tile, and composite only the masked region back onto the full-resolution plate. That works for small and medium removals; a removal that covers most of the frame won’t fit a 720p tile and comes back soft.
- Whole-frame re-encoding. Even masked models re-encode the whole frame they return. Use the output as a patch through your matte, never as the shot.
- Temporal stability. Fills can flicker or drift, especially on long shots that have to be processed in chunks.
- Invented content. The fill is plausible, not true. If continuity matters (text on a sign, a specific building, a pattern that continues out of frame), check it against reference.
- 8-bit Rec.709. Log or linear plates need converting for the model and back again for the patch.
For a deeper look at why re-rendered frames are a problem for finals, see generative video editing vs plate-preserving VFX.
Which technique should you use?
Start with the cheapest technique that has real information to work with, and move down the table only when you have to.
| Situation | Best technique | Watch out for |
|---|---|---|
| You have a clean pass from set | Align it and reveal through a matte | Exposure drift, different grain, slight misalignment on moving shots |
| Locked-off shot, object moves and reveals the background | Frame borrowing (hold or combine clear frames) | Light changes over the shot; shadows of the object |
| Moving camera, background revealed in other frames | Track or stabilize, then borrow; or a content-aware fill with the Object method | Parallax: foreground and background move differently |
| Object on a flat surface (wall, floor, sign) | Paint one clean frame, planar-track it on | Light changes across the surface; motion blur on fast moves |
| Deforming or organic surface (cloth, skin, foliage) | Local tracking plus paint; frame-by-frame paint for the hardest frames | Boiling paint; texture that doesn’t move with the surface |
| Background never revealed, small or medium area | Content-aware fill with a reference frame, or AI inpainting on a tile | Invented detail; flicker; resolution cap of hosted models |
| Background never revealed, large area | Rebuild it: matte painting or a projected still, then track | Needs camera tracking; the most expensive case |
How do you judge a clean plate?
A clean plate is done when you can’t find the patch while the shot plays at speed. Check it in this order:
- Play it at speed, full resolution. Flicker and boiling show up in motion, not on single frames.
- Grain. Is there grain inside the patch, and does it match the plate in size, strength and movement? A smooth patch reads as a smudge; a copied grain pattern reads as a frozen window.
- Perspective and parallax. Does the patch move with its surface, or slide against nearby objects?
- Edges. The seam between patch and plate is where most fixes fail, especially with a hard matte.
- Light and color over time. Compare first and last frames. If the light changed, the patch must too.
- Motion blur and focus. A patch on a fast pan needs the same motion blur as the plate; a patch in a soft background needs the same defocus.
- Difference check. Subtract the result from the original. Outside the matte, the difference should be zero.
- In context. Check the clean plate in the final comp and after the grade. A contrast push can reveal a patch that was invisible before.
Regrain: the step that makes the patch disappear
Regraining is putting matching grain back over the patch, and it’s often the difference between a patch you can see and one you can’t. Painted, filled and AI-generated pixels are usually cleaner than the plate; cloned pixels carry grain that doesn’t move like the grain around it.
A reliable approach:
- Degrain the plate (or the area you’re working on) before painting or filling, so you aren’t cloning grain.
- Build the patch on the degrained plate.
- Sample grain from the original plate, from an area with similar brightness, because grain varies with exposure.
- Regrain the patch only, then composite it back over the original, untouched plate through the matte.
Most compositors have tools for this. Foundry’s Nuke documentation describes F_ReGrain as designed “to sample an area of grain from one image and then to generate unlimited amounts of this grain with exactly the same statistics as the original.” Silhouette lists a Grain brush among its paint tools. Whatever you use, check the regrained patch against the plate at 100% and at speed.
Where nolanlabs fits
This is nolanlabs Cleanup. You mark what shouldn’t be there, and only that region changes: everything outside the edit region stays as shot. It returns the cleaned shot plus the fill patch and the edit-region matte as separate files, so you can redo the blend, regrain or grade in your own compositor. It reuses background revealed in other frames where it can, with regrain on by default. Because today’s hosted inpainting engines run at up to about 720p inside the edit region, it warns you before a run when a removal is too large for that. More on Cleanup.
Whatever tool you use, the order stays the same: shoot a clean pass if you can, borrow real background before you invent it, and regrain before you call it done. For wires, rigs and markers specifically, see wire, rig and tracking marker removal.
Questions
- What is a clean plate in VFX?
- A clean plate is a version of a shot without an element you want gone: an actor, a rig, a boom mic, a sign, a crew member. It shows the background as it would have looked if that element had never been there, and compositors use it to paint things out, to help keyers and as a base for set extensions.
- Can you make a clean plate if you didn't shoot one?
- Yes. You build it in post: borrow background that other frames reveal, paint a single clean frame and track it onto the shot, clone and paint frame by frame, or use a content-aware fill or AI inpainting tool for areas the shot never shows. A clean pass from set is still better, because it contains real background instead of reconstructed background.
- Why does my clean plate look like a smudge or a frozen patch?
- Usually because the patch has no grain, or the wrong grain. Painted and filled areas tend to be smoother than the plate, or carry a copied grain pattern that doesn't move. Degrain the plate before you paint, then regrain the finished patch with grain sampled from the same plate so it matches in size, strength and motion.
- Is AI inpainting good enough for a clean plate?
- For small and medium areas, often yes as a starting point, provided you composite only the filled region back onto the original plate and check it for flicker. As of September 2026 the hosted masked video inpainting models we checked work at up to about 720p, so large removals at 4K come back soft, and the fill is plausible content, not the real background.
Sources
- Remove objects from your videos with the Content-Aware Fill panel, Adobe After Effects Help (last updated Oct 14, 2024) · accessed 2026-09-24
- Mocha Pro (2026.5) product page, Boris FX · accessed 2026-09-24
- Silhouette (2026) product page, Boris FX · accessed 2026-09-24
- RotoPaint, Nuke 17.1 Reference Guide, Foundry · accessed 2026-09-24
- F_ReGrain, Nuke 17.1 Reference Guide, Foundry · accessed 2026-09-24
- DaVinci Resolve 21: Fusion page, Blackmagic Design · accessed 2026-09-24
- DaVinci Resolve 21: Color page, Blackmagic Design · accessed 2026-09-24
- Wan VACE 14B inpainting API reference, fal · accessed 2026-09-24
- Erase object (video editing API), Bria docs · accessed 2026-09-24
Written by the nolanlabs team. nolanlabs does AI shot work for post-production; product names mentioned belong to their owners. Tool details were accurate on the date shown above. Check the vendor’s documentation before relying on them.